Purpose
In this article, you will learn about the usage of set() to automatically assign values to the required fields. We'll guide you through the following steps.
- Assign values to the input fields on the same screen
- Assign values to the radio buttons on the different screen
User Interface
//Create this file SAPMV45A.E0101.sjs inside your script folder for customizing the Create Sales Order: Initial Screen
//Now, let's start adding the Liquid UI script to the above file and save it.
Assign values to the input fields on the same screen.
- Assign values to the required input fields on the Create Sales Order: Initial Screen, as shown below.
//Assigns OR Value to Order Type input field.
set("F[Order Type]","OR");
 // Assigns 1000 value to Sales organization input field
set("F[Sales organization]","1000");
 // Assigns 10 value to Distribution Channel input field
set("F[Distribution Channel]","10");
 // Assigns 00 value to Division input field
set("F[Division]","00");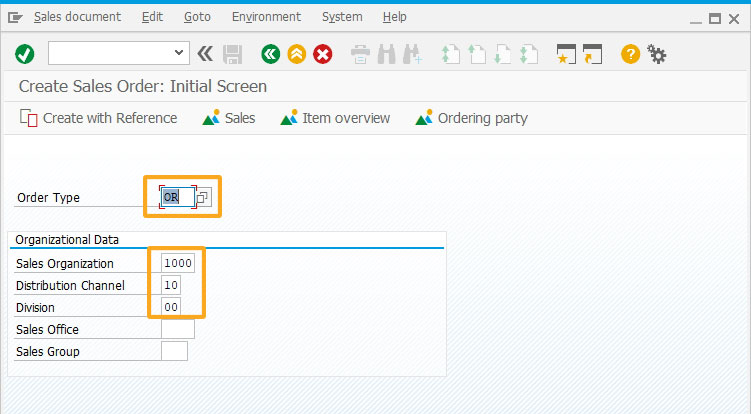
Assign values to the radio buttons on the different screen
- Delete unnecessary screen elements on the Create Sales Order: Initial Screen using the del command, as shown below.
// Deletes Order Type input field
del("F[Order Type]",{"triple":true});
// Deletes Organizational Data groupbox
del("G[Organizational Data]");
// Deletes Create with Reference pushbutton
del("P[Create with Reference]");
// Deletes Sales pushbutton
del("P[Sales]");
// Deletes Item overview pushbutton
del("P[Item overview]");
// Deletes Ordering party pushbutton
del("P[Ordering party]");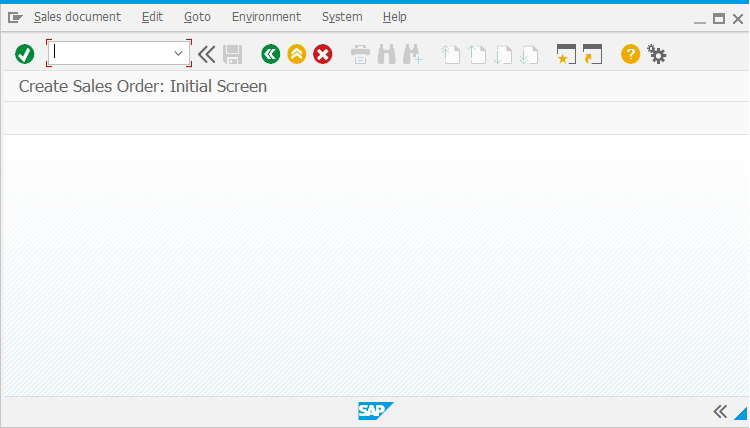
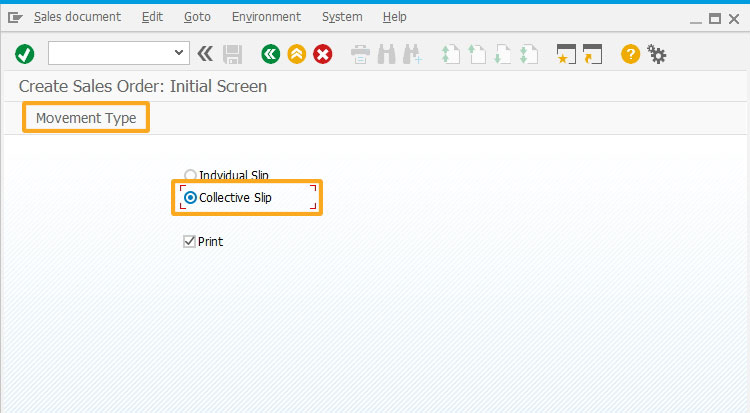
- Add two radio buttons namely Individual Slip and Collective Slip to assign their values to the desired fields and a checkbox with the label "Print", as shown below.
// Creates a radiobutton Individual Slip with technical name as z_radio and value as A
radiobutton([1,25],"Indvidual Slip",{"name":"z_radio","value":"A"});
// Creates a radiobutton Collective Slip with technical name as z_radio and value as B
radiobutton([2,25],"Collective Slip",{"name":"z_radio","value":"B"});
// Creates checkbox Print with technical name as z_va01_print
checkbox([3,25],"Print",{"name":"z_va01_print","default":"X"});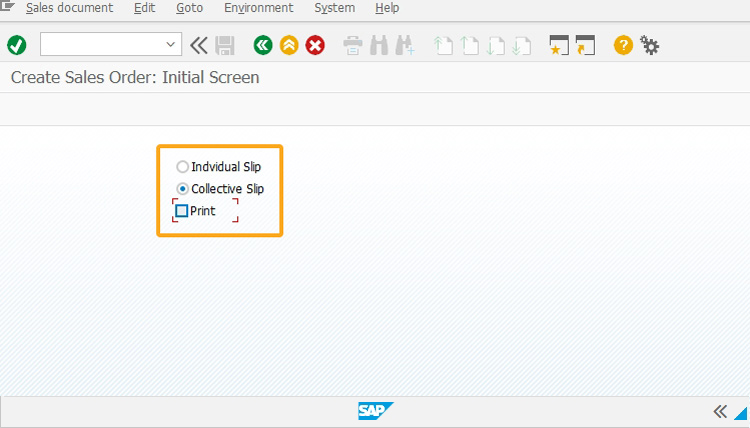
- Add a toolbar pushbutton with the label Movement Type to execute the process and run z_test, when clicked.
// Creates Movement Type toolbar pushbutton to run z_test process on click
pushbutton([TOOLBAR],"Movement Type","/nmb1c",{"process":z_test});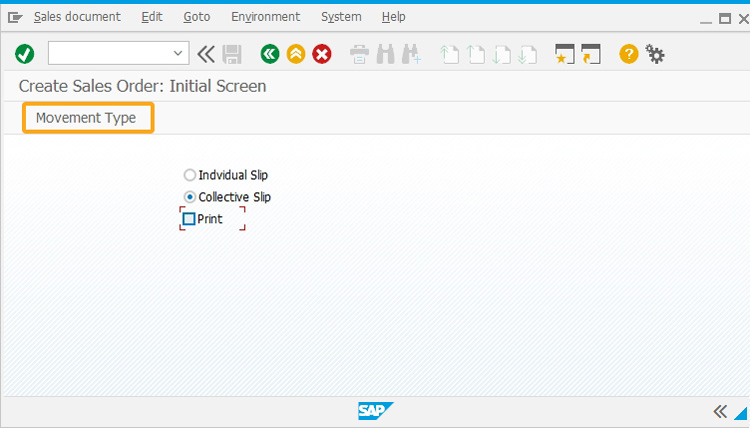
- Add a function to check the radio button value.
// Creates z_test function to check the radio button value
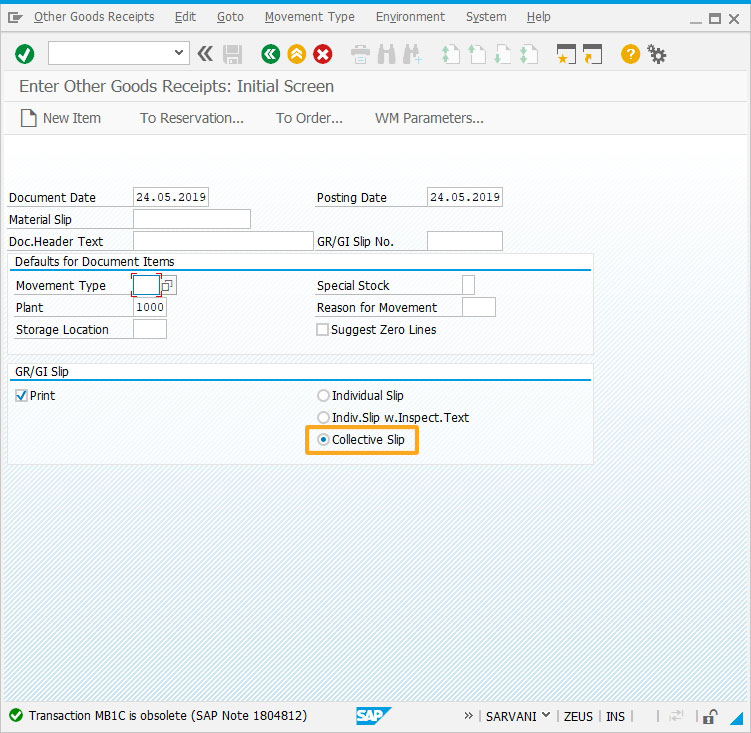
function z_test() { onscreen 'SAPMM07M.0400' if(z_radio=="A") { set("R[Individual Slip]","X"); } if(z_radio=="B") { set("R[Collective Slip]","X"); } }
SAP Process
- Refresh the SAP screen. Select any radio button on the Create Sales Order: Initial Screen and check the Print checkbox. Then, click the Movement Type toolbar pushbutton, as shown below.
- Now, you will be navigated to the MB1C transaction and could see the Collective Slip radio button is pre-selected. Therefore using the set(), radio button values can be passed from one screen to another.
Next Steps
Scenario 4 - Creating a Notification
Learn how to save the notifications on the Create Notification Maintenance Request screen.
Learn how to save the notifications on the Create Notification Maintenance Request screen.
5 min
This article is part of the Conditional scripts tutorial.


